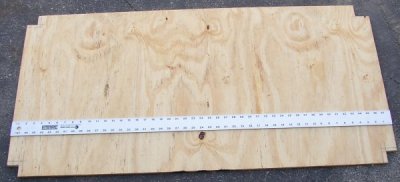
 You should now have a sheet of plywood with four corners cut out. If you have a 4' straight edge, you can see how easy it will be to measure pretty much anything you need for this project. In this step, you will be attaching boards to the bottom of the floor to give it enough strength to support the weight of the cage, cats, and accessories. You will be cutting 2"x2" boards for this step. You will require approximately 1 1/4 8' boards. If your 2"x2" boards are not 1.5"x1.5", then you must take your own measurements. We are cutting these beams based on the the floor being 48" wide by 24" deep, minus the 1.5" for each square cut out of the corner of the board. Cut two (2) 45" beams out of the first board. Cut three (3) 21" beams (you should be able to get two from the first 2"x2", and the third from a second 2"x2"). |
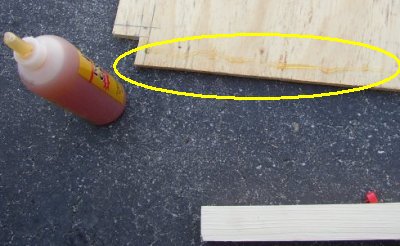 After you finish cutting the beams, you are ready to assemble the floor. I highly recomment using glue when attaching the beams to the floor. Place a line of wood glue along the edge of the floor before you attach a beam. Do not use too much, or it will seep out and make a big mess. |
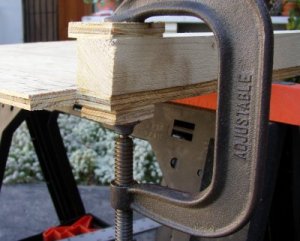 Now place the beam on the edge of the floor where you have put a line of glue, and use two or three clamps to hold it in place. The clamps will hold the beam in place while you screw the floor to the beam. If you are using a C-clamp, it is a good idea to use scrap wood between the clamp and the floor to prevent the clamp from damaging the floor. |
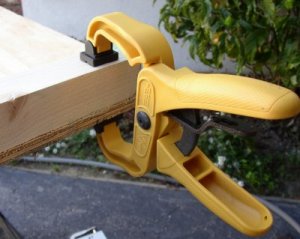 Instead of C-clamps, I am fond of using Quick Grip clamps. These clamps lock into place as you squeze them, and have a protective rubber mouth instead of raw metal, so you do not need extra wood to protect what you are clamping. Comparatively, the quick grip clamps attach in a couple of seconds, as opposed to a minute or two of fussing with a C-clamp and scrap wood. |
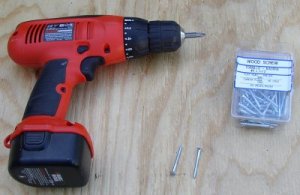 Once you have firmly attached the beam to the floor with clamps, turn over the floor and attach the beam to the floor with 1.5" wood screws. You will be screwing from the top of the floor into the beam. I suggest six (6) screws for each 45" beam and three (3) screws for each 21" beam. |
 Once you attach the beam with screws, remove the clamps. You should have something that looks like this. |
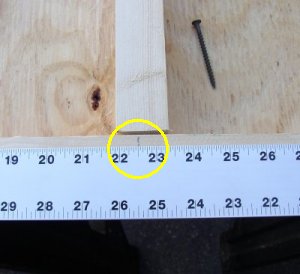 For the middle 21" board, measure to the middle of both 45" boards. This should be 22.5" inches. |
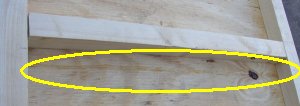 Don't forget to lay a line of glue before attaching the center board. |
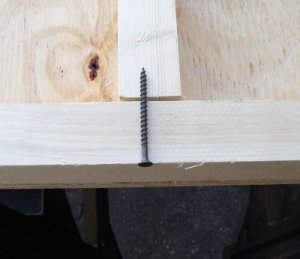 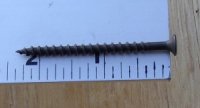 Screw the 21" center board to the 45" side boards on each side with 2.5" wood screws. It is a good idea to visually verify that the screw will go all the way through the first board. |
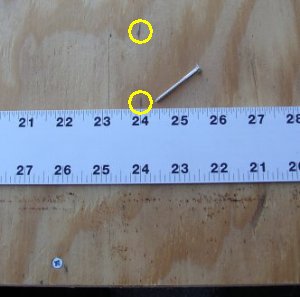 Turn the floor assembly over and prepare to secure the floor to the center beam. Measure to the center of the board, which should be exactly 2' if you are using a 4' wide floor board. Drill 1.5" wood screws into the center beam from the top using the center measurement as a guide. |
 The center of the floor should look like this. |
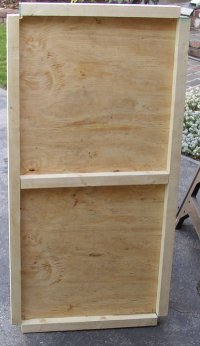 Now stand up your floor assembly and look at the bottom. If it looks like an "8" on a digital clock, then congratulations. You have successfully completed the floor assembly. |